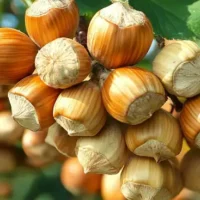
Hazelnuts. I love them in chocolate, roasted on cold winter nights, or simply as an excuse to avoid doing actual gardening. But one day, I thought, “Why not grow my own?” That was the beginning of a nutty adventure, full of seeds, stratification, and a surprising amount of sawdust.
Here’s how I got started, and how you can, too.

Step 1: Harvesting Seeds – Nature’s Timing
First, I had to get my hands on some hazelnuts. You want them mature, which means waiting until the husks turn brown and start to release the nut.
Think of it as the hazelnut saying, “I’m ready!” (or, more likely, “Don’t eat me yet!”). If you’re out there gathering hazelnuts, be quicker than the squirrels – they’re your main competition. Of course, soon enough, it might just be hoards of zombie-like fellow citizens who used to be middle class….
Step 2: Stratification – The Chill Before the Thrill
Here’s where it gets science-y. Hazelnut seeds don’t just grow if you shove them in the dirt and wish for the best. They need “stratification,” which is a fancy way of saying, “a nice winter nap.” Apples also need this process.
Nature handles this beautifully—seeds fall, chill in the moist earth all winter, and wake up in spring. But since I didn’t want to gamble with squirrels (or my lazy gardening tendencies), I went for the refrigerator method.
I packed the nuts in moist sand in a plastic bag, kept them at about 34–41°F (not next to the butter), and waited for 3–4 months. It felt a bit like babysitting… very quiet, immobile babysitting.

Step 3: Germination – Let There Be Life!
Spring rolled around, and it was time to coax those sleepy seeds into action.
You can let them sprout in nature’s embrace or in a controlled environment. I went for a potting mix heavy on drainage (field soil = bad idea, I learned).
Think light, airy, and nutrient-packed. Fine soil; potting compost or the like. If you make your own compost, maybe try sifting some and using that.
My first seedlings were scraggly but determined – a bit like my attempts at cooking (most days, anyway…)
Step 4: Pot Sizes and Transplanting – Bigger is Better
Apparently, pot size matters. I learned that small pots make small, wimpy seedlings.
Larger pots, like two-gallon behemoths, gave my plants room to stretch and grow robust roots. But transplanting came with its own challenges. Too hot? Bad. Too root-bound? Worse. I felt like a nut nursery manager – minus the tiny paychecks.
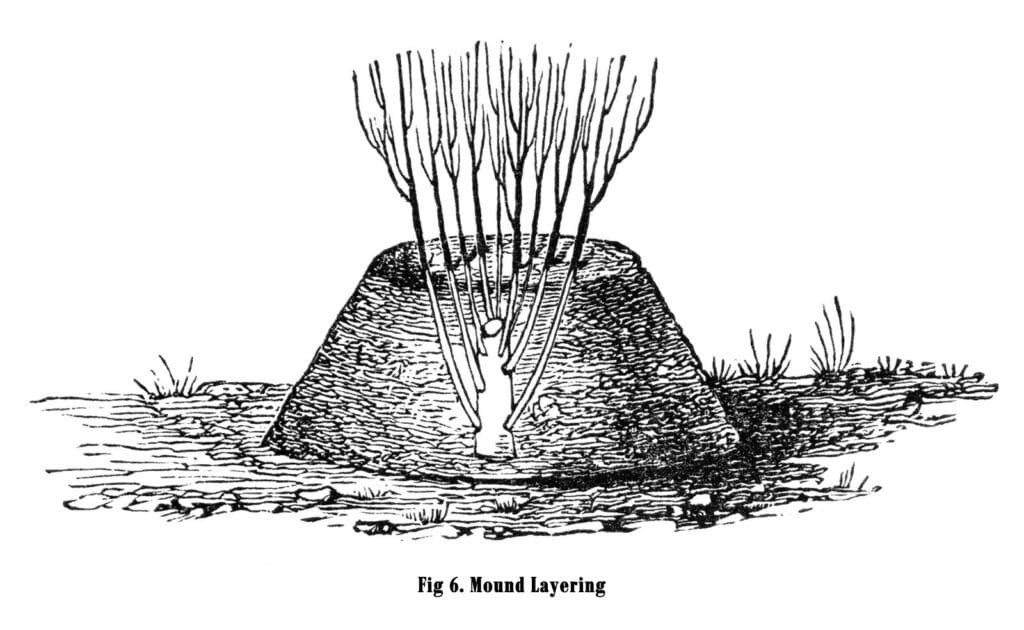
Step 5: Mound Layering – A Cheat Code for Vegetative Propagation
Feeling ambitious? Try mound layering.
This involves coaxing shoots to grow roots by covering them with sawdust or a similar material.
It’s low-tech and effective, exactly what we all need to be doing more of, but let’s be honest: I spent a lot of time on my knees. The payoff? Strong, clone-worthy plants.
The Drawbacks
Now, a reality check. Hazelnuts grown from seed aren’t guaranteed to be true to type.
That means your home-grown nuts might not taste like the ones you started with. They could be better! Or… well, let’s just say it’s a gamble. Also, the whole process is slow – think years, not months. Hazelnut trees teach patience.
But again, isn't this something we all could use a little more of today? I've said for years, self-sufficiency isn't just about learning to grow your own food and live outside of the system; it's about self-development and personal growth.
A spiritual evolution, if you will.
The Sweet Reward
After all the planting, watering, and wrestling with pots, I finally saw my hazelnuts grow. The trees added beauty to my yard, and the first nuts tasted sweeter than anything I’d ever bought.
Sure, I might have fought squirrels, muttered a lot about “soil drainage,” and spent more time covered in sawdust than I’d planned, but I wouldn’t change a thing.
So, if you’re thinking of growing your own hazelnuts, go for it. It’s a quirky, rewarding, and slightly nutty adventure – just like me.
Good luck, and may your hazelnuts always be plentiful!