Hey there, fellow self-sufficionado! Have you ever wondered what life would be like if you couldn’t just waltz down to the supermarket and grab a block of cheddar or a tub of cream cheese? Imagine a world where the shelves are bare, and you’re stuck dreaming about the rich, creamy goodness of your favourite dairy delight. Fear not, because today, I’m about to teach you the ancient, noble (and surprisingly simple) art of cheese-making. Not only will this skill elevate your self-sufficiency game, but you’ll also have the smug satisfaction of knowing you can produce your very own cheesy masterpieces while the rest of the world descends into chaos.

The Basics: Cheese is Just Fancy Milk
At its core, cheese is milk that’s been transformed into something magical – curds and whey, like the nursery rhyme. The secret sauce? Coagulation! (Sounds dramatic, right?)
Whether it’s using good old-fashioned rennet, some sour lemon juice, or even funky lactic acid bacteria, the goal is the same: turn liquid milk into solid curds and separate out the watery whey.
Here’s the best part: the type of cheese you get – soft, semi-hard, or hard – depends on how much moisture you remove and how you treat those glorious curds.
Want something spreadable like cream cheese or paneer? Go soft. Craving something with a crumbly texture like Gouda or Colby? Semi-hard is your friend.
But if you’re looking for that sharp, nutty cheddar or Parmesan that takes months to mature, you’re in for the long haul with hard cheese.
Soft Cheeses: Easy, Quick, and Delicious
If you’re just dipping your toes into the cheese pool, soft cheeses are where it’s at. Think of them as the gateway drug to cheese-making.
Paneer, for example, is ridiculously simple and doesn’t require any fancy equipment. Here’s how I make it:
- Heat It Up: Bring milk (cow or buffalo—your call!) to a gentle boil, then simmer it for about five minutes.
- Add the Magic: Stir in some lemon or lime juice and watch the milk split into curds and whey. It’s like a science experiment you can eat.
- Drain It: Pour the curds into a sieve or cheesecloth, let them drain, and voilà! You’ve got a solid block of paneer ready to use in your next curry or fry-up.
Not bad for 20 minutes of work, huh?
Cottage Cheese: Creamy Goodness for the Apocalypse
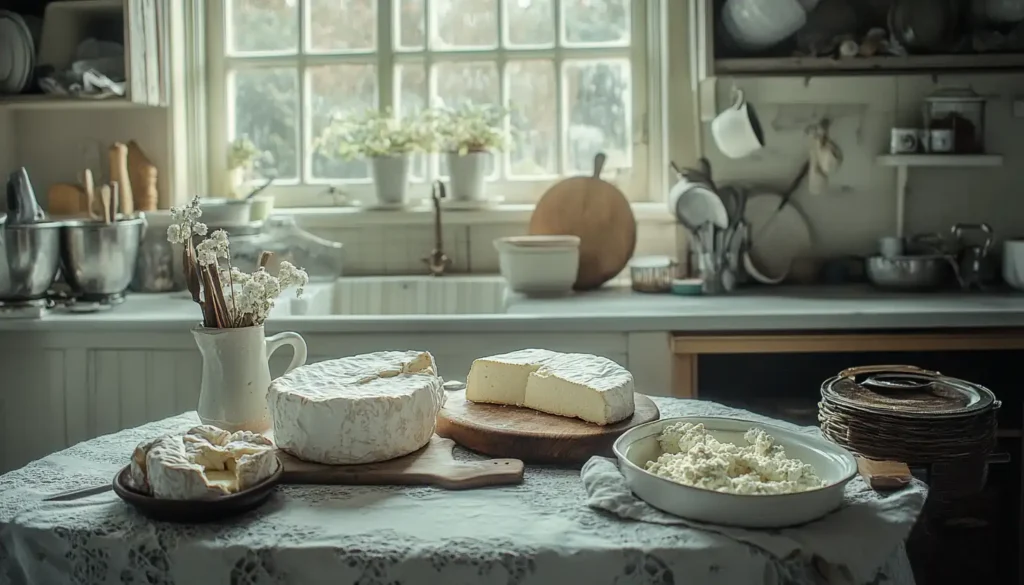
For those of us who like our cheese spoonable, cottage cheese is a dream. It’s a bit more involved than paneer, but trust me, it’s worth it:
- Start with pasteurized milk and a lactic acid culture (or live yoghurt if you’re feeling old-school).
- Add some rennet for that perfect coagulation.
- Cut the curds into small cubes, heat them gently, and drain the whey. A quick chill in ice water and a pinch of salt later, and you’ve got creamy, delicious cottage cheese.
The Big League: Hard Cheeses for Long-Term Survival
Making hard cheese is like raising a fine wine or training a champion dog. It takes time, patience, and a bit of finesse, but the reward? A cheese that can last months or even years while civilization collapses around you.
Take cheddar, for example. First, you pasteurize the milk, add a starter culture, and let the rennet work its magic. Then, the curds are cut, heated, salted, and pressed into a solid wheel.
After a quick stint in a cheese press (DIY or store-bought – your choice), it’s time for the hardest part: waiting.
While it ripens in cool, humid conditions, your cheddar will evolve from mild and creamy to sharp and tangy, becoming the cheese equivalent of a battle-hardened warrior.
Pro Tips for a Cheesier Life
- Hygiene is King: Cheese is a diva. It won’t tolerate dirty equipment or sub-par milk. Keep your tools spotless and your milk fresh.
- Temperature Control: Whether you’re heating milk or ageing your masterpiece, precision matters. Invest in a good thermometer – it’s a game-changer.
- Experiment with Flavours: Add herbs, garlic, or chilli flakes to your cheese for a custom twist. Smoked cheese? Yes, please!
- Whey Not?: Don’t throw out that whey – it’s packed with protein! Use it in soups, smoothies, or feed it to your livestock.
Cheese-Making: A Survival Skill and a Joy
Whether you’re preparing for a post-apocalyptic world (we're in Starmergeddon here in the UK, after all!) or just trying to impress your friends with some artisanal cheese, this skill is as rewarding as it is practical.
So roll up your sleeves, grab some milk, and get cracking. Who knows? You might just become the local cheese baron when the grid goes down. Until then, happy curdling! 🧀